Monday 30 May 2011

Some of the scenery is coloured

I have done a first pass at colouring the base coat. I used a mix of plaster and some 'dipping inks' that are used in plastic models to highlight panel lines etc.

As with all of these jobs, you only see what you have missed when you take a picture, so there is some touching up to do.

This is just an initial pass so I still have to smooth out a lot of the joins plus filling in things like screw heads etc. However, I find that you don't see these until you put start the finishing process - then it all looks rotten so you do a huge amount of touch up - and then go again.

All the fun of the fair, as they say!

Anyway, here is what it looks like at the moment.


As ever, just double click on any photo to see a larger version in a new Tab on your browser.

Sunday 29 May 2011

Down goes some scenery

I have spent this morning laying some Modroc (plaster impregnated bandage) over the now-dry dampened newspaper. I did find out that 2 metres of Modroc doesn't cover 2 metres of ground so I ran out before I could do the whole lot that I needed. I have managed to blend in both of the tunnel mouths nicely. Anyway, you can see from the photos how it looks.

Don't forget that you can double click on any photo to see a larger image  on a new tab.


The next view is a video

Monday 23 May 2011

Hobbies merging


I have been working on a station and two caboose.

For the full details check out my modelling blog

Thursday 19 May 2011

The first scenery goes down

I have started laying the scenery down. I use dampened newspaper as the base. When that dries, it is quite hard. On top of that, I will lay some plaster impregnated bandage over that and make the final shapes. I have to cut about the tunnel mouths. I hope to do the rest of this work over this weekend.


Monday 16 May 2011

I finally make a consist

In DCC terms a consist is when you link two locos together - each having different addresses - so that they operate as one. The grades on my layout are quite steep and each of the two GP-15s can manage abut 5 cars without struggling. I put together a train with 13 cars with on GP-15 at the head and one in the middle to see what happened.  I did it really because I have never been able to run such a train before on any layout I have built over the years.

Making the consist was easy with my ZTC controller. I then took a video of it all. This was put into iMovie for editing. I found a public domain sound track of a freight train and had an interesting (!) time adding that to the video.

This is the result.

Friday 13 May 2011

Don't you just love DCC!!

So, I buy two GP-15s and 1 Budd RDC. The Budd, I know, will have to be converted using the long route but the two GP-15s are labelled as DCC Ready. Now this normally means that they have a socket. Do these - OH NO! - what they have is all the electrics on a single circuit board which can be swapped out. Leaving the Budd, let us concentrate on the GP-15s as they will be easy - or not.

I speak to Digitrains and ask advice because there are three replacement boards available - NCE (cheapest), TCS and Digitrax. The advice I am given is - you get what you pay for, so I buy the Digitrax boards - £52 in total. When they arrive, it seems that the instructions miss out some important facts. The descriptions on the Internet talk about some tape and also mention that, for some reason, Digitrax have made their boards thinner than the Atlas ones so the contacts need beefing up with solder to make contact - a good start. It also appears that the two motor contacts should go through some slots to make full contact but I can't see how to do this as they are underneath the board and I am not that good a threader. Eventually, after using some masking tape to ensure that the motor contacts don't touch the chassis halves, I put one together - put it on the track - and I get a nice puff of smoke out of the loco. Now I wish I had bought the TCS one as they have a no-quibble return policy that includes events like this - £26 up in smoke as they say.

I then take the two Gaugemaster mini-decoders that I bought 'in case'. I cut some plastic card to the same shape as the circuit board and use that as a spacer. I then hard wire in the mini-decoder and - guess what - it worked first time! Plus I still have space to fit a couple of LED lights and get them working - but I will save that for later.

Then I need to tackle the Budd RDC. I find some good instructions on stripping the thing down to its essentials and, ignoring all the chip fitting instructions (remember, we used to chip locos professionally when we were ZTC agents and owners), carefully fit a ZTC mini decoder which we had lying around. Once again, this worked first time - but with no lights - same old excuse.

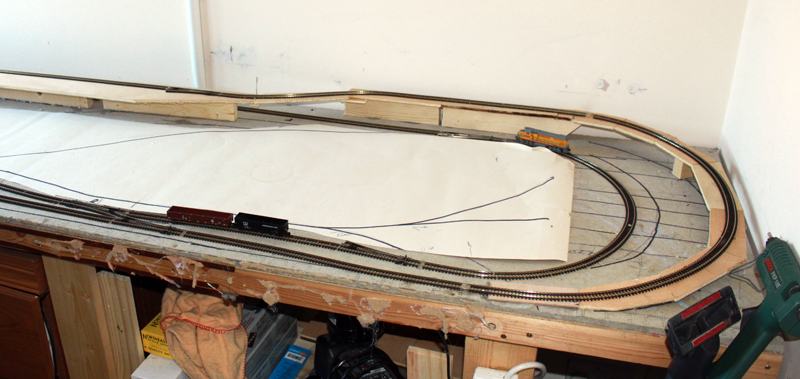
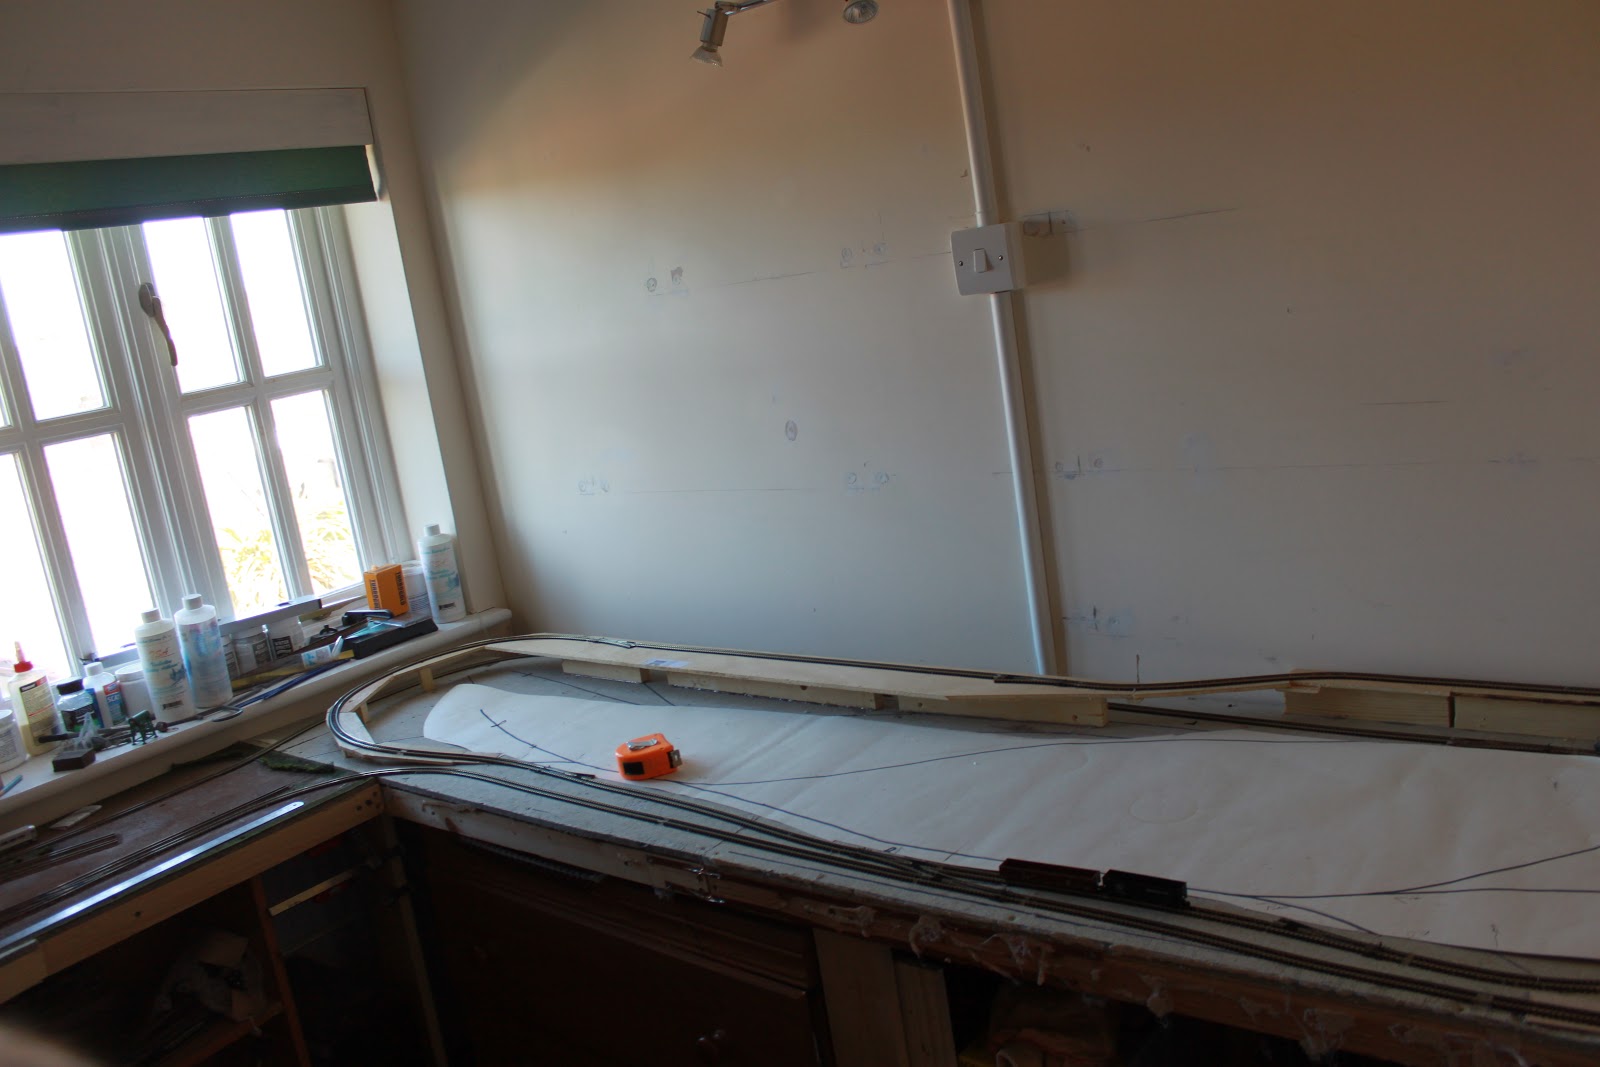
I used a SPROG to set the loco addresses as I don't have a programming track set up on the railroad yet. I then ran all three of them (as you can see in the picture).


Now comes the BAD news :-(. Where the old part of the layout meets the new part. there are two new connecting tracks. One of these is flat but the other has a bit of a ridge (or so I see now). The GP-15s make it fine. Yesterday, I didn't use the RDC through here because the wiring wasn't complete so this is the first time through. The RDC bottoms out on the ridge - the RDC has a metal plate underneath - goodness knows why! - and promptly shorts out the decoder with a small burst of 2.6amps - according to the short reported by the ZTC 505 controller.

Guess what - there is no longer a ridge there, but I wll have to fit a replacement decoder tomorrow. Luck we used to sell these things so I have quite a few lying around - all with varing parentge but mostly usable.

Postscript

I now have two Digitrax Atlas decoders which I will put on EBay - any one want to buy a single one? You will get two and have to work out yourself which one is the busted one. Everything goes on EBay, doesn't it?


Twitter

I have opened up another Twitter account just for the model railroad. With my new iPad, I am twittering away keeping everyone informed of progress on the railroad in 60 character bites. Get onto Twitter and find LongHairedDavid for a wonderful experience - grin.

The track is down

This should have been up last night but Blogger was down so...

I spent yesterday evening trying to get all of the track on the old part of the layout working. Remember that this was a stand alone N Scale layout so looking from one end, every right hand rail was connected to every other right hand - same for the left to left. This what is required for DCC operation. Unfortunately, i was going to put this in the middle of an oval so all of a sudden some right hands needed to be connected to left and - and so on for the other side of the track. Hence there was a lot of chopping of track connections and a lot of making new ones. This was complicated because, first the original wiring was done with the board upside down so it was beautifully crafted with copper wire and hidden wiring. Secondly, the track had been ballasted so it was hard to see where the track connections were. As I had built this board into the layout, I could no longer work on the underneath. I wish I had thought of this because I could have wired all this up before burying it into the new layout. Patience - what's that?

The photos relate to last night - you can see some temporary connections to show what was needed to sort out the last of the problems. the photos show the three locos (if you can refer to an RDC in such a way) so they have all been DCC sorted - see next blog.

Tonight, I have finished of the wiring fix and layed the last of the track. This means that tomorrow, I can do the last little bits of wiring and clear up. - Yes, that is my new iPad you can see!!


Monday 9 May 2011

A lot of track laid and more to come

I went down to the local model railway shop - Scograil in Ipswich - and bought all the track on Saturday morning. I got a very good deal, by the way. I then spent much of Saturday afternoon and a lot of Sunday (excluding the F1 Grand Prix, of course) laying track. In N Scale, I am a great believer in hot glue guns!

Other stock - I now have 2 x Atlas GP15 with Digitrax replacement DCC circuit boards coming tomorrow. I have a single Kato Budd RDC which I think I can chip myself for DCC. I have around 30 freight cars and two Atlas kits for stations. I think I will need a few more freight cars but they can wait until I have it all up and running.

I have the basic  main route laid out with the exception of the final connecting track on the left hand end of the original N Scale board. I need this to complete the continuous run. However, as soon as the shop shuts at 4 pm, I am up there beavering away. Tonight, I hope to lay the rest of the track and start the wiring.

I seem to have made two mistakes. One is on the left hand incline - nearest the window, where I have cut the boards a bit too close and will have to add some outside extensions to provide a proper track bed. The second mistake is along the front of the new section where I have joined both loops with a crossover. I wondered why I was a couple of points short as this crossover shouldn't be there. I will correct that this evening along with the roadbed problem.

Photos to date (Click on them to see a bigger image):
You can see a Flash Slideshow here
You can see an HTML Slideshow here (for iPhone/iPad users)


Wednesday 4 May 2011

HO gone - N Scale - here we come!

Well, thanks to EBay, all of my HO stuff has gone except for a couple of locos which will be gone by the weekend.

I have recovered the N Scale layout I made for the kitchen a couple of years ago. I took up the left hand leg of the 'L' as this was a bit of a mish mash of bits of board knocked together as my plans changed. I placed the N Scale existing layout there and filled in neatly around it.

The final result looks like this:


The final size is 7' 6" x 2' on the long side and 5' 10" x 1' 4" widening out to 1' 9" on the short side.

The original board has been scenicked as you can see.

Here is a quick sketch of what I plan to do. I have left out all the passing loops (3 of them) and all of the industry and yard tracks.
 I will have a final track length of about 2 scale miles.  The trains will arrive in the main yard on the short board travelling in the same direction as they left but that can't be helped. A little imagination will be needed. The arrival and departure yard is on the reverse loop of the short board. There will be two other main towns on the layout, each with their own passing sidings for the way freights to hide.

I have a limited budget because of the EBay income being the only way I can do this but I am hoping for 2 low hood units and a Budd RDC for passengers.

To get a feel for the size, here is a little video of the room.

I hope to have the points and the main box of track before this coming weekend so I will put up some more on Sunday.