Having mocked up some of the structures in box cardboard, I decided to have a go at making a kit that I picked up on EBay some time ago. Now, I have made a couple of laser cut wood kits but this one pre-dates such technology. This is a Suncast model which is basically a pile of scale lumber which needs to be cut to size and glued together.
Fortunately, I have an HO scale rule and an NWSL Chopper II so cutting to length and to angles, etc. is not too difficult. However, the instructions are another matter. As you can see, what you get is three sheets of typewritten instructions - presumably mimeographed, a double sided sheet of scale plans and a pile of lumber.
This one might take some time!
Late Update
I have just found out that this particular kit is still available - presumably in the same form as I have it. Amazing. This just shows the life possible in a good design.
An ongoing description of the trials and tribulations of building a model railway. I am not one to worry too much about 100% accuracy. If it looks right then it probably is right for me.
Monday, 3 January 2011
Sunday, 2 January 2011
Saturday, 1 January 2011
Mockups and progress
Status - all of the track is laid and is fully wired for DCC. The DCC controller is fully installed along with the booster. The booster is set up to handle the polarity problems of the turntable. I have a hand driven turntable which is no-way realistic but works for now until I can afford the final option (check out Walthers 90ft DCC turntable).
What I have been doing today is mocking up some of the industries with cardboard so that I can get a feel for how the switching is going to work.
You can see how it looks from the following photos. Please accept that the layout is not perfect in its design - nor is it ideal but I have limited space so I have to shut my eyes to some things so that I can get others in.
The JK Innovative Purity Milk Depot - a Laser cut kit

This is the staging area where the trains end up. The line in the front will be servicing a Saw Mill. The 4-6-0 is a Bachmann Spectrum item that came DCC installed. It is not a particularly good runner. Its sole job will be to run the two shorty passenger cars out to the other end of the SNE a couple of times a day. If it keeps running the way it does, we may become a freight only railroad!

This is hand operated turntable - just grab a knob and spin. It works, for now. There is a DCC link to the booster which handles the electrical short created by swapping the rail polarity over during the turn.

Here you can see the cardboard mock up of the Ice House and it's attendant Fruit Packing Station. The Eastern Fruit Association has been one of my industries since the heady days of N Scale Sunset and North Eastern back in 1970.

This is a high level view of the left hand industry area and the loco facilities. Again, we have mockups of a Furniture factory (lots of wood in and lots of crates out so plenty of flats and box cars)

A close up of the loco facilities - non-existent except for an oil tank. The three locos that you can see here are all Bachmann. 2 x 2-8-0 and an F-3. I have stripped the gears on one of the 2-8-0s so only one works. The 2-8-0s came with on-board DCC whilst I have chipped the F-3. The 2-8-0 is the main freight engine for the SNE (Sunset and North Eastern) whilst the F-3 is on loan to the company as they are in straightened times and their switcher died last Fall. The F-3 isn't a great switcher but it was the best that they could borrow - seeing as how none of the surrounding lines even had any steam switchers left - grin. I am still investigating how to get some decals to put road names on the locos and some freight cars - no result yet.
This is a close up of the cardboard mock ups. These will help me get the layout of the areas right before I start scratch building the real ones

The above shows the Budd RDC. Now this is where we stretch credulity. This RDC is supposed to be out of shot, away on a larger road. It comes in twice a day as an interchange passenger service but I don't have anywhere else to send it so we have to pretend that it isn't there!
What I have been doing today is mocking up some of the industries with cardboard so that I can get a feel for how the switching is going to work.
You can see how it looks from the following photos. Please accept that the layout is not perfect in its design - nor is it ideal but I have limited space so I have to shut my eyes to some things so that I can get others in.
The JK Innovative Purity Milk Depot - a Laser cut kit
This is the staging area where the trains end up. The line in the front will be servicing a Saw Mill. The 4-6-0 is a Bachmann Spectrum item that came DCC installed. It is not a particularly good runner. Its sole job will be to run the two shorty passenger cars out to the other end of the SNE a couple of times a day. If it keeps running the way it does, we may become a freight only railroad!
This is hand operated turntable - just grab a knob and spin. It works, for now. There is a DCC link to the booster which handles the electrical short created by swapping the rail polarity over during the turn.
Here you can see the cardboard mock up of the Ice House and it's attendant Fruit Packing Station. The Eastern Fruit Association has been one of my industries since the heady days of N Scale Sunset and North Eastern back in 1970.
This is a high level view of the left hand industry area and the loco facilities. Again, we have mockups of a Furniture factory (lots of wood in and lots of crates out so plenty of flats and box cars)
A close up of the loco facilities - non-existent except for an oil tank. The three locos that you can see here are all Bachmann. 2 x 2-8-0 and an F-3. I have stripped the gears on one of the 2-8-0s so only one works. The 2-8-0s came with on-board DCC whilst I have chipped the F-3. The 2-8-0 is the main freight engine for the SNE (Sunset and North Eastern) whilst the F-3 is on loan to the company as they are in straightened times and their switcher died last Fall. The F-3 isn't a great switcher but it was the best that they could borrow - seeing as how none of the surrounding lines even had any steam switchers left - grin. I am still investigating how to get some decals to put road names on the locos and some freight cars - no result yet.
This is a close up of the cardboard mock ups. These will help me get the layout of the areas right before I start scratch building the real ones
The above shows the Budd RDC. Now this is where we stretch credulity. This RDC is supposed to be out of shot, away on a larger road. It comes in twice a day as an interchange passenger service but I don't have anywhere else to send it so we have to pretend that it isn't there!
Thursday, 9 December 2010
Oh my - I am really getting on
I must have straightened my brain because I am not only spending lots of time on scale models - I used to do 20 minutes at a time - but I am also spending 'hours' on the model railroad. I am amazed to see that it is only 10 days since I did my last blog entry which was discussing the wiring of the main track.
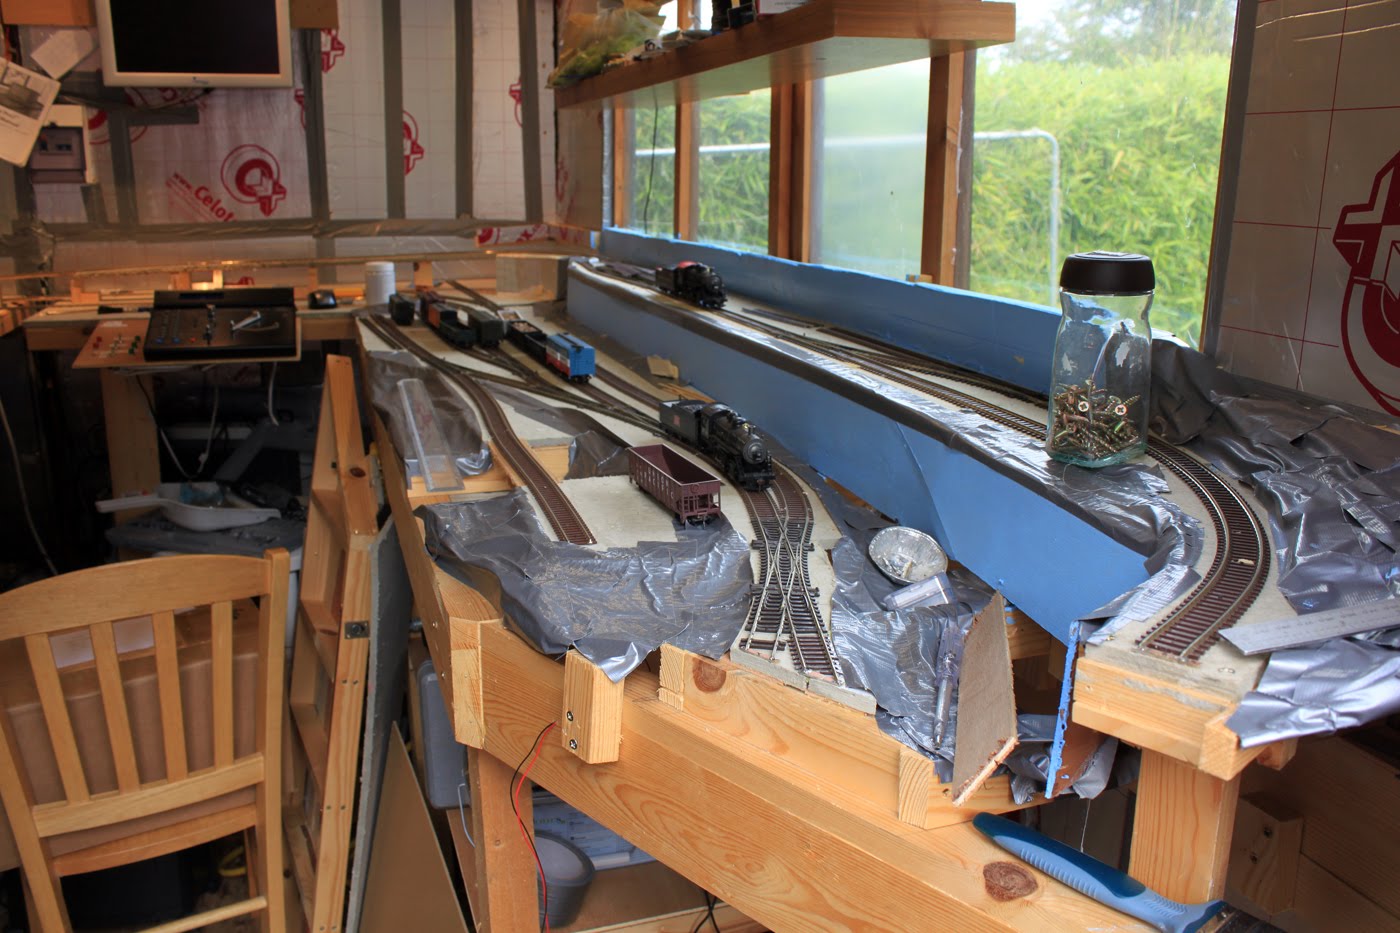
Well, this is where I am now. After some testing, I had to relay one piece of track and I have now built the two end extensions. That to the left is going to be my staging area and that to the right will be where I will eventually put the turntable. However, given the trouble I had with the Walthers one, I am going to construct a very simple one (won't even try to get it to look right - just to turn the locos for now) and eventually fit my dream one - there is a DCC indexed turntable out there which comes built up but costs $350! so that will have to wait :-)
Well, here are the shots of the current state of play.
Well, this is where I am now. After some testing, I had to relay one piece of track and I have now built the two end extensions. That to the left is going to be my staging area and that to the right will be where I will eventually put the turntable. However, given the trouble I had with the Walthers one, I am going to construct a very simple one (won't even try to get it to look right - just to turn the locos for now) and eventually fit my dream one - there is a DCC indexed turntable out there which comes built up but costs $350! so that will have to wait :-)
Well, here are the shots of the current state of play.
I am close to having all of the track laid. There are just two wires to solder up and we can start thinking about the future.
I will, of course, start to work out the running patterns whilst I start to lay the ballast. I have to remember that this is rundown world so I need to get this right.
Monday, 29 November 2010
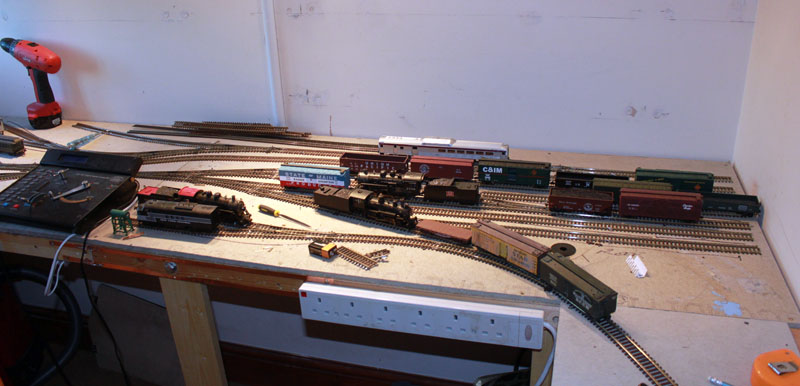
All Change - forget the shed, it's the spare room now!
For a variety of reasons, I have had to clear the shed of the model railroad. Valerie has insisted that I keep going so I have taken over the spare bedroom, which we only use as a dressing room. It only has a set of wardrobes down one side so we were wasting the space anyway. The space I have is about 7' 6" wide by 2' deep and I can grab a couple of square feet on one end and about 4' x 1' at the other. This means that I can only do the main terminus of my theoretical late '40s short line. Hey, it is warm and I can work there in the evenings so I might just get this one to work.
Progress so far.
In the last two weeks, I have set up a couple of the boards I have salvaged from the shed and worked out a track plan. I have laid all of the track and have spent the last couple of nights doing the wiring. As it will all be DCC, I have set up a power bus using copper tape and tinned copper wire. Here is where I have got to so far. The photos show the situation where I was debugging the wiring. I seemed to have swapped a couple of track polarities as I had to carefully work out what went where. It is all done now so you can see what the wiring looks like under one of the main boards.
Progress so far.
In the last two weeks, I have set up a couple of the boards I have salvaged from the shed and worked out a track plan. I have laid all of the track and have spent the last couple of nights doing the wiring. As it will all be DCC, I have set up a power bus using copper tape and tinned copper wire. Here is where I have got to so far. The photos show the situation where I was debugging the wiring. I seemed to have swapped a couple of track polarities as I had to carefully work out what went where. It is all done now so you can see what the wiring looks like under one of the main boards.
Thursday, 5 August 2010
So long since anything
I suddenly realised that it is ages since I did anything on the railroad, let alone write about it.
Firstly, I must tell you that 180 people have looked at my YouTube video showing the turntable working - fame at last.
For some reason, even when I have time, I don't go out to the shed. This is in spite of telling everyone for years what I would do if I had a permanent model railroad!
I did get out there recently and started to put some scenery up. I put up some back sheets and painted them a base colour ready to airbrush the clouds. I also started filling in the groundwork. I like to use gaffer tape to do the base work and then fill over that with Modroc (plaster imprgnated material).
In the meantime, I did try to put a couple of point motors onto the hidden siding and then control them from the DCC. I am using Peco surface mounted motors. However, they look a little flimsy to me so I was already a bit suspicious that they might not be powerful enough - even though I am using them on Peco points. True to form, the first one worked perfectly but the second cannot move the rails. I will probably replace both the Guagemaster SEEP motors, but yet again, I have to get out to the shed.
Suggestions as to what is stopping me - please!
Well here is where I am at the moment
Firstly, I must tell you that 180 people have looked at my YouTube video showing the turntable working - fame at last.
For some reason, even when I have time, I don't go out to the shed. This is in spite of telling everyone for years what I would do if I had a permanent model railroad!
I did get out there recently and started to put some scenery up. I put up some back sheets and painted them a base colour ready to airbrush the clouds. I also started filling in the groundwork. I like to use gaffer tape to do the base work and then fill over that with Modroc (plaster imprgnated material).
In the meantime, I did try to put a couple of point motors onto the hidden siding and then control them from the DCC. I am using Peco surface mounted motors. However, they look a little flimsy to me so I was already a bit suspicious that they might not be powerful enough - even though I am using them on Peco points. True to form, the first one worked perfectly but the second cannot move the rails. I will probably replace both the Guagemaster SEEP motors, but yet again, I have to get out to the shed.
Suggestions as to what is stopping me - please!
Well here is where I am at the moment
Monday, 8 March 2010
Ballast and electrics
Subscribe to:
Posts (Atom)